

Learn gymnastics at home! Videos for beginner gymnasts aged 3-6 years.
These online gymnastics lessons are free. Share this page with anyone who you think might enjoy it.
In order to provide lessons for gymnasts to do at home during the Covid-19 pandemic, I created these videos. I decided to also share them on the website for other people to view as it might be helpful for keeping children occupied at home – have fun and learn some new skills! I’ve included some tips too! The only equipment you’ll need will be a mat or a rug/ carpet. Enjoy!
Follow Flair on Instagram and Facebook @FlairGymnasticsAndDance and subscribe to my Youtube Channel
Warm-up, Fitness, Stretching, and Body Conditioning for experienced recreational gymnasts aged 7+.
Video Lessons for 3-6 Year Olds
These lessons are fun and creative. They’re aimed at beginner-level gymnasts. Best suited to ages 3-6 but younger and older children will enjoy it also. They’ll need a safe space to exercise in and preferably use a mat or a rug/ carpet. Even though the videos are geared towards the children being able to do the lesson by themselves, please supervise for safety, especially the handstand lesson. Some of the videos even include some tips for parents/ guardians on how to spot their child doing a skill.
Fun Gymnastics At Home for 3-6 Year Olds: Lesson 1 – warm-up, stretches and shapes
Fun Gymnastics At Home for 3 to 6-Year-Olds: Lesson 2 – jumps, balances, drills, bunny hops, rolls and tumbles
This video includes a section at the end for parents/ guardians to learn how to spot their child for a tumble (to ‘spot’ just means to give hands-on assistance).
Top tips for your little gymnasts for this lesson.
For jumps: they should use their arm swing for extra height; fully stretch through their legs and feet (point them) to get higher off the floor; keep their head neutral (i.e. in the middle – some kids throw their head back or look down at their feet); plant their feet flat into the floor when they land with their weight spread equally from heel to toes to ‘stick’ their landing.
For balances: for safety, emphasise that they always put their foot down if they’re falling over; keep their head looking forward and spot something for balance (they tend to look at the floor); keep their weight spread equally through their standing foot (heel and toes into the mat); and pull up tall through their body like someone is pulling them up with a string.
For tumbles: the most important thing is that they tuck their head in and the top of their head should not touch the mat (really get their nose in between their knees; as their bums go up, their heads keep tucking; don’t let their elbows or knees go on the mat either; land in a tuck sit with feet flat on the floor really close to their bum and their head leaning forwards so they can stand up with ease.
For helping your child to tumble, use one hand to tuck their head right in so it doesn’t go on the floor and use your other hand on the back of their upper legs to help them to lift their hips and rotate. Check out the last section of the video for visuals.
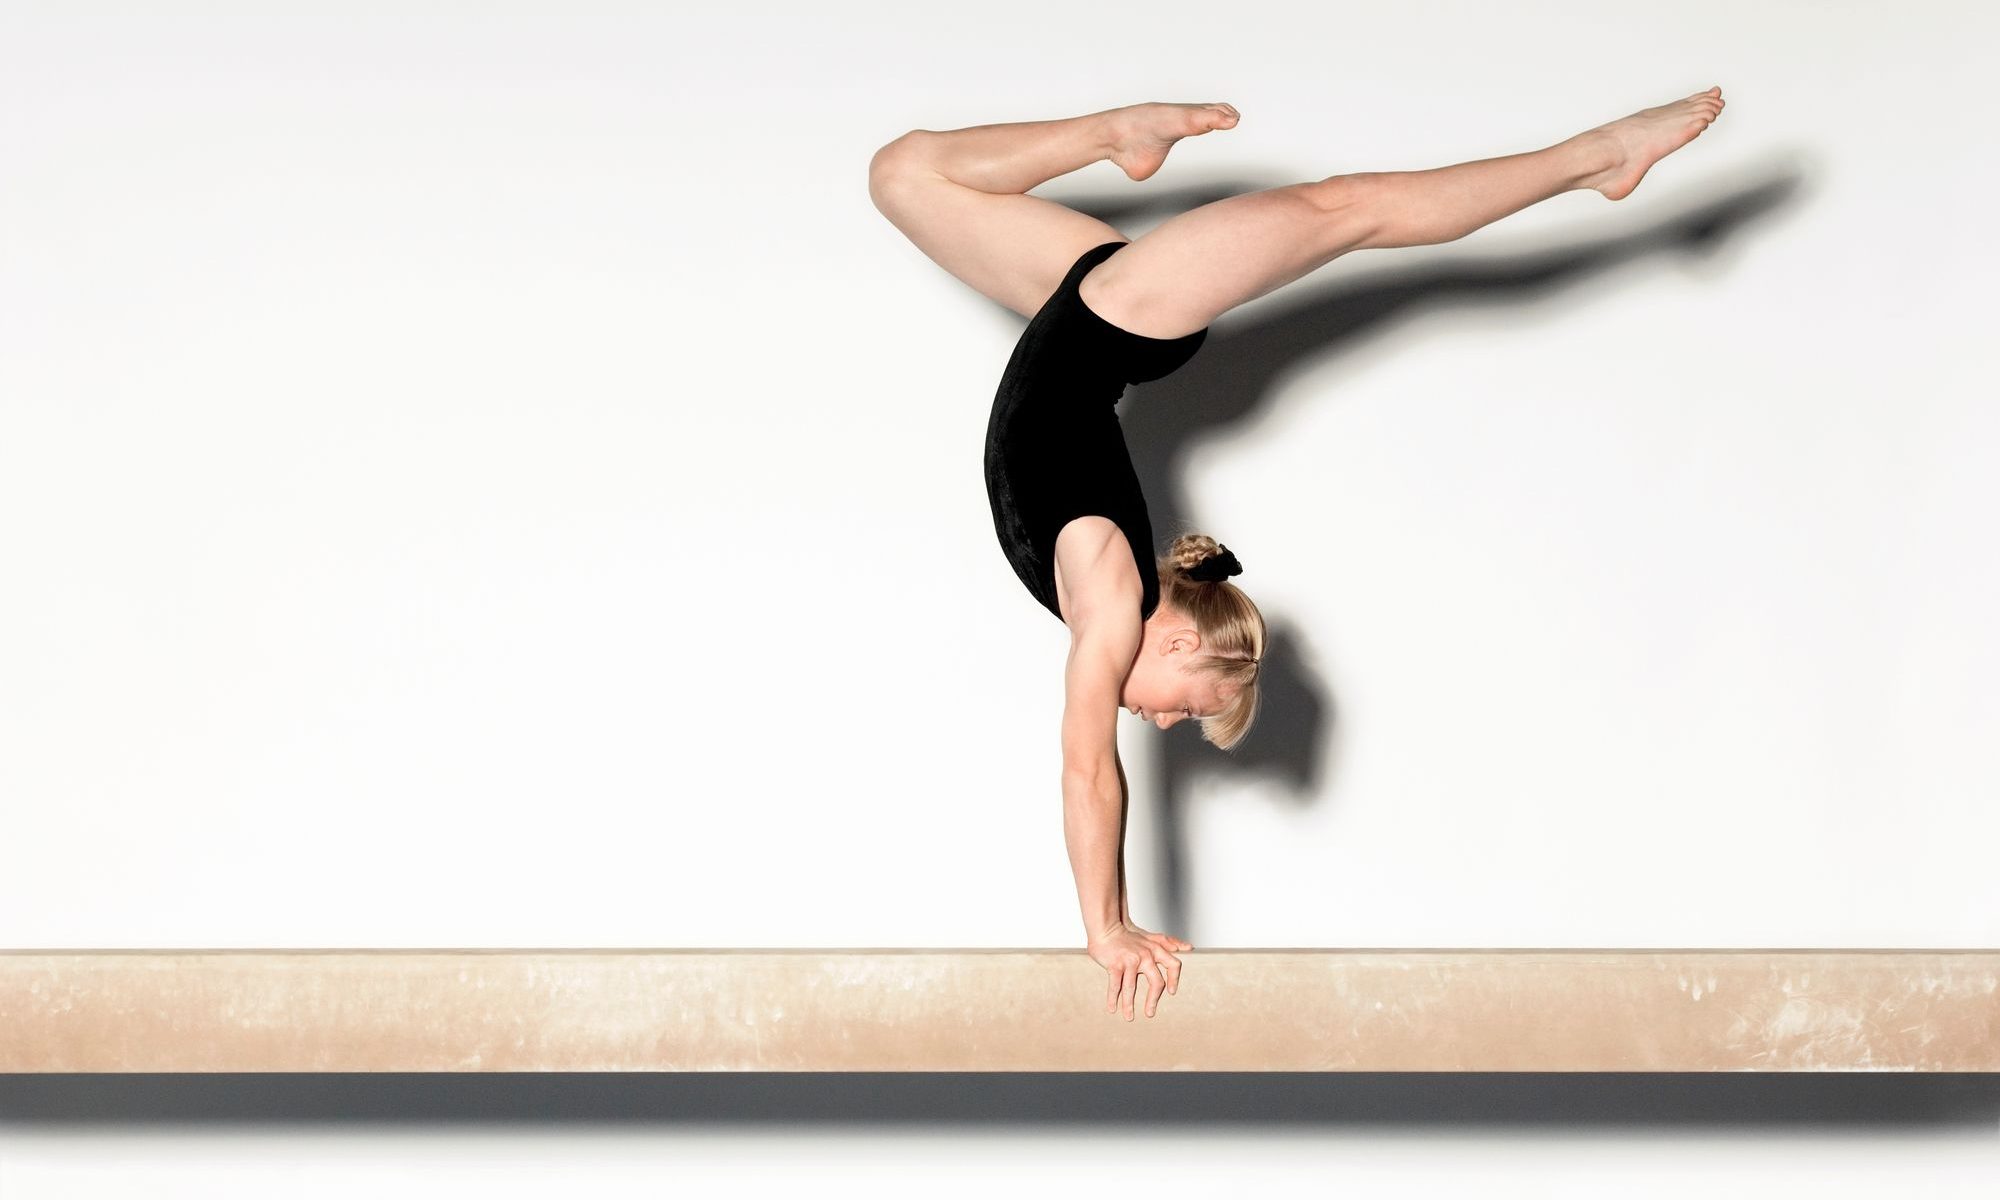
Fun Gymnastics At Home for 3 to 6 Year Olds: Lesson 3 – The Handstand
This video includes the step-by-step process for beginner gymnasts to get them close to a full handstand. It includes lots of great tips and encouragement. Ensure the gymnast has done a little warm-up first. There’s a section in this video where they put their feet up on a couch or chair to practice taking weight on their arms. There’s also a section where they put their feet on the wall. Just FYI so you’re prepped! I also show parents/ guardians how to spot their child doing a ‘bunny hop’, a prep move for the handstands.
Top tips for beginner handstands
There are a lot more technical points I could have added to the video but because this is aimed at young beginner gymnasts, I kept it simple. The main tips for them are:
- Straight arms to hold themselves up – lock their elbows straight
- Spread their fingers out and have their hands flat on the floor like a hand print to help balance on their hands
- Hands are to be shoulder width apart
- Practice taking their weight on their hands first by doing a front support as shown in the video, followed by bunny hops and put their feet on something high like the couch or up on the wall
- Start with arms straight and above their head, hiding their ears (this means a better chance of them having straight arms in the handstand and hiding their ears means their hands will be shoulder width apart
- Take a big step into the handstand and kick the leg up above their hips
- Practice kicking off each leg first so you can see if they’re more natural at doing it off their right leg or left leg
- Practice getting their foot back on the floor (instead of landing unsafely on knees) and bring the foot close to the hands to stand up more easily
- Handstands should be ‘stacked’ so they should try to have their shoulders above their hands (like in the front support) and their hips above their shoulders (like when we do bunny hops or legs up on the couch and bum above head) and then legs straight above (hands – shoulders – hips – legs all in a straight vertical line stacked one on top of the other)
- Their first leg should kick up directly above their head and not over the top past their head and their second leg comes up to the top to meet the first leg
- When up there, they can use their shoulders and push their fingers into the floor to help them balance but if they fall over the top, they can move their hand really quickly to take a step with their hand and safely return to their feet
- Practice at a wall to avoid falling over onto their back
- Keeping their body tight by engaging all their muscles will help them to balance
- They’re aiming to have a straight so encourage them to keep their tummy in – this will also keep their lower back safe from strain
- The head position should be ears between arms but looking down at hands
- The photo below on how to spot them in the handstand
- Best of luck and have fun!
Spotting a bunny hop
There are loads of different ways to spot but this is how I do it, especially for beginners. Support your gymnast at the shoulder with the hand closest to shoulder and at the shins with the other arm. Supporting under their shoulder means that you have their weight if they bend their arms, thus saving them from falling on their head. It also allows you to gently push their shoulder angle open. Having them at their shins means you can assist them in getting their feet off the floor while simultaneously keeping their knees tucked into their tummy (which encourages a better shape in their back).

Spotting a handstand
Again, there are plenty of ways to spot a handstand but here’s one I recommend for beginners.
Stand on the side of the child that’s the opposite to their lunge leg (i.e. be on the side of them with the leg that’s the first to go in the air). Put the closest hand under the closest shoulder and other hand above their knee (see photos below!). Hand support under the shoulder means you can help take their weight and save them if they bend their arms so they won’t land on their head. Supporting above their knee means you can assist with the kick and help lift their leg over their head. Important that you spot them above the knee on the thigh and not below and you will lose control of them if they bend their leg. This way if they bend their leg, you still have them. Don’t hold their actual knee as it’s bad for the joint and you won’t have full control. Having them at the shoulder means you can help them open their shoulder angle and having their leg means you can help them open their hip angle and keep their handstand ‘stacked’. You can encourage them to control their own second leg and they have to bring that up to join their top leg that you’re holding. Encourage them to straighten their legs join big toe to big toe. The foot of the leg you’re not holding then is the first to return to the floor and you can assist them to return to starting position.

Fun Gymnastics At Home for 3 to 6 Year Olds: Lesson 4 – The Cartwheel
Before you start this video, please note the first 2 minutes give some tips to parents about what’s included in the video. Children can do the whole lesson without any extra equipment/ props but to get the full benefit, you can print out the hand and foot shapes as explained below, you can create a line on the floor with duct tape, they can have a small teddy bear/ toy ready for one section and access to the couch for putting their feet up on. There’s also an exercise where they do their bunny hop over a block but you can use household items such as a big book, a cushion, a footrest or else they use their imaginations and pretend they’re doing it over something! Please supervise them for safety and make sure they have a safe space to practice in.
Additional resource – download the .pdf document below of hand and foot shapes to print and cut out and stick to mat/ floor for helping your child with their cartwheel. This is explained in the cartwheel video. You keep them close at first and then move them further apart to encourage a longer, straighter cartwheel. You can also colour-code them (right foot red and left foot blue for example to they land each foot correctly).

You can also make a line for them to practice on using duct tape or draw hand and foot shapes with chalk/ markers.
Top tips for doing a cartwheel
The video lays out the prep skills for cartwheel from absolute scratch for beginners starting with simply taking some of their body weight in their arms, then transferring body weight via a bunny hop, onto sideways bunny hops, then adding in the legs, etc. The video includes all the tips for the gymnast but this is done in a simplified manner. In terms of tips for parents who want to help their child correctly cartwheel, here’s a few:
- Face forward going into it, not sideways.
- Start with straight arms above head, hiding their ears – encourages straight arms in the cartwheel so they can better take their weight when upside-down and hiding/squeezing their ears means their hands will be shoulder width apart when they hit the mat.
- Hips and shoulders square (i.e. beside each other facing forward and not twisted).
- Take a big lunge/ step and reach hands out in front.
- 1/4 turn into it, go through a handstand shape with legs wide and straight and 1/4 turn out of it to land in a lunge, facing the opposite direction from which they started (front to back cartwheel as I like to call it).
- Reaching for the floor can be scary so have them practice reaching for the wall or onto a height like the couch first and practice standing up from hands off the couch or wall too, encouraging them to take their arms up and lift chest up as their leg returns to the floor.
- Practice the kick part (having done the handstand lesson first will help with this as there’s loads of leg kicks in our handstand lesson).
- Encourage this rhythm – ‘hand, hand, foot, foot’
- Head stays between their arms, looking through arms when upside-down to see the first foot land (this is a good technique to practice as it will make things easier for them when they progress and are going onto cartwheels on the beam)
- Hand position can be side by side, both hands facing same direction or else form a “T” shape with first hand going down sideways and fingers of second hand pointing towards the first – explained in the video.
- First foot to return to the floor should come close to the hands to aid standing up.
How to spot a beginner cartwheel
There’s lots of ways to spot a cartwheel but my favourite way for spotting a beginner cartwheel for a young child is to help them at their hips. This allows you to take their weight. They can end up doing all sorts of funny things when trying a cartwheel for the first time, including taking their hands off the floor completely!! Haha! So spotting at their hips means you completely have them even if they’re floating in the air.
- Stand on the side where they’ll have their back to you while upside down. This means you’re less likely to get kicked!
- Tell them to put their hands on the ground side by side with fingers facing you.
- Get closest hip with closest hand so you’re not twisted.
- In this way of spotting, they have to look after their own legs though so they might be doing crazy things with the legs – watch out!
You can also spot them by the legs, taking one thigh with each hand and helping them to get their legs higher and to open the legs out wide. Spotting at the thigh means that if they bend their legs, you still have control. It’s good to pause when hitting the halfway point of the handstand with legs out so you can get them to fix their shape – straighten their arms, straighten their legs, widen their legs, point their toes, etc. – and then finish off the cartwheel.
You can see in the photos below, how I have my hands at the gymnast’s hips. As he moved his hands and nearly took them off the block, I still had control and he was safe. In this example, his was trying to jump his feet from one side of the block to the other without touching the block with his feet. We hadn’t moved onto wide or straight legs yet. Can be done over the likes of a (sturdy and stable) foot rest or similar or even a cushion.
